If you've been living under a rock and (somehow) have never tried hummus... it's a creamy & tangy spread or dip that is popular around the world, served with pita bread, vegetables for dipping, crackers or as part of a salad sandwich in place of butter. It also works great with my Za'atar flatbread!
Made from a blend of chickpeas, tahini (a paste made from sesame seeds), lemon juice and garlic, hummus can be found on Middle Eastern restaurant menus and in supermarkets everywhere. Store bought hummus often tastes plain due to being made in big batches and stored for long periods of time. You owe it to yourself to have a crack at making it if you're a hummus fan, because it's very easy to make and tastes much better when made fresh.
Making your own hummus gives you the opportunity to put your own twist on it, by incorporating ingredients such as roasted peppers, beetroot, cumin or smoked paprika - see my tips on putting your own touch to hummus - or you can stick to the classic recipe, perfecting the balance of lemon's bright acidity against the nuttiness of the tahini. I've written this as a foundation recipe, where you can put your own touches on it easily.
I've been making this recipe for years now - it's been unchanged for quite a while as we're very happy with the texture and balance. This hummus is easily whipped up when you have unexpected visitors and want to give them some food to snack on.
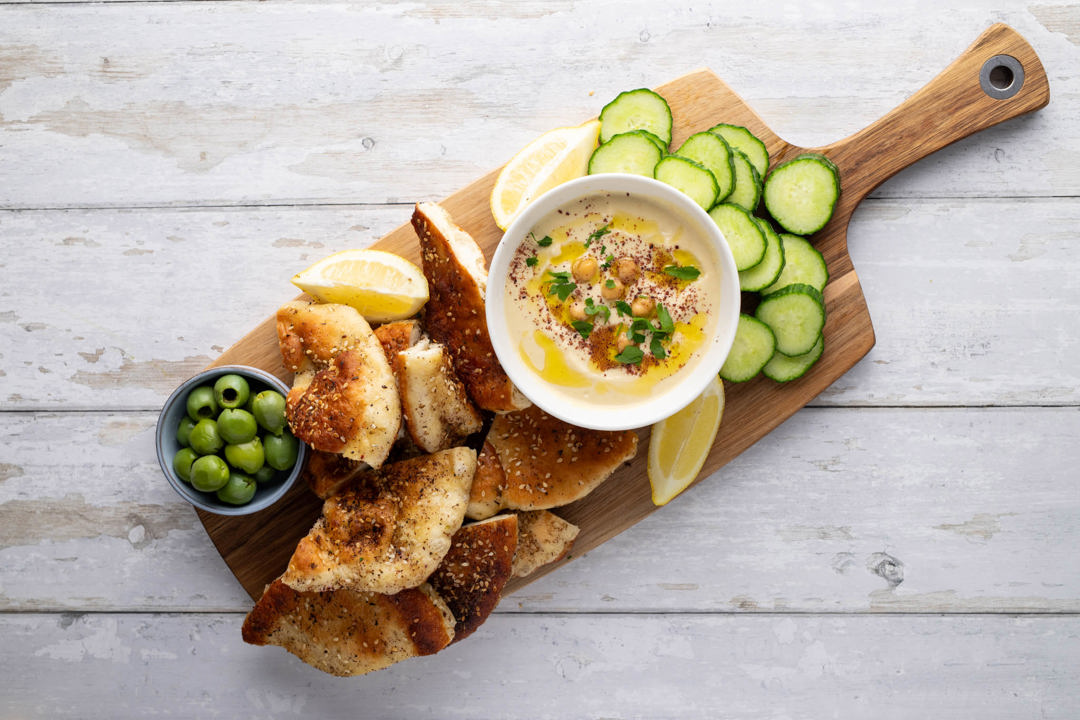
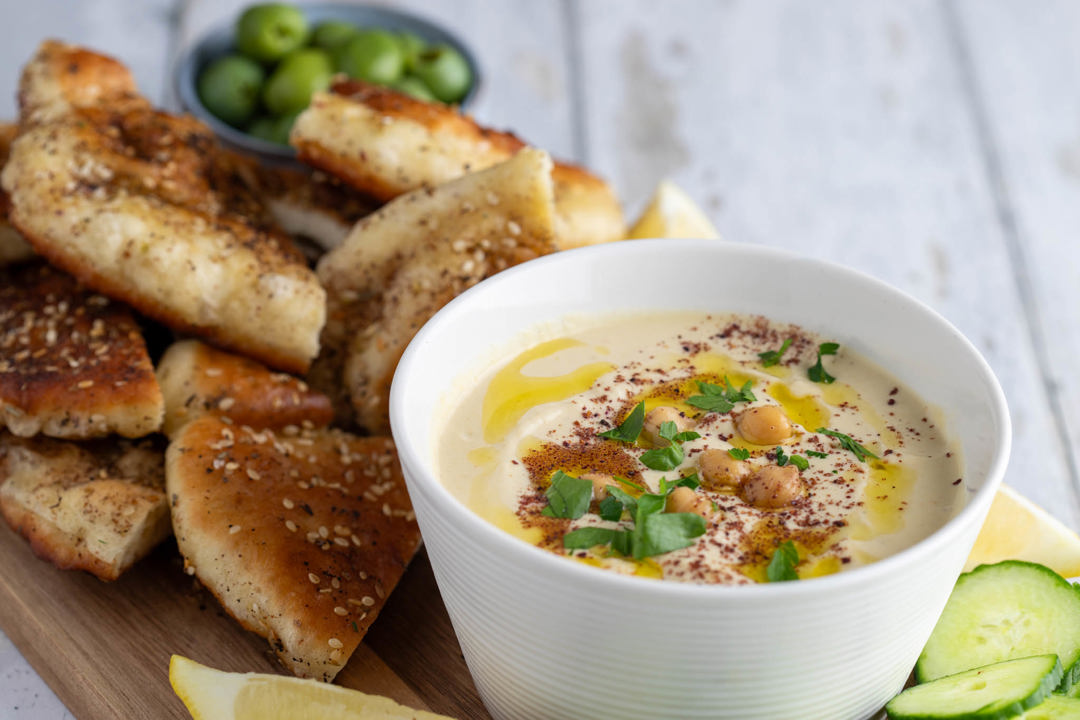
Try this easy & authentic hummus recipe as part of your next meze or entertaining platter!
Hummus ingredients
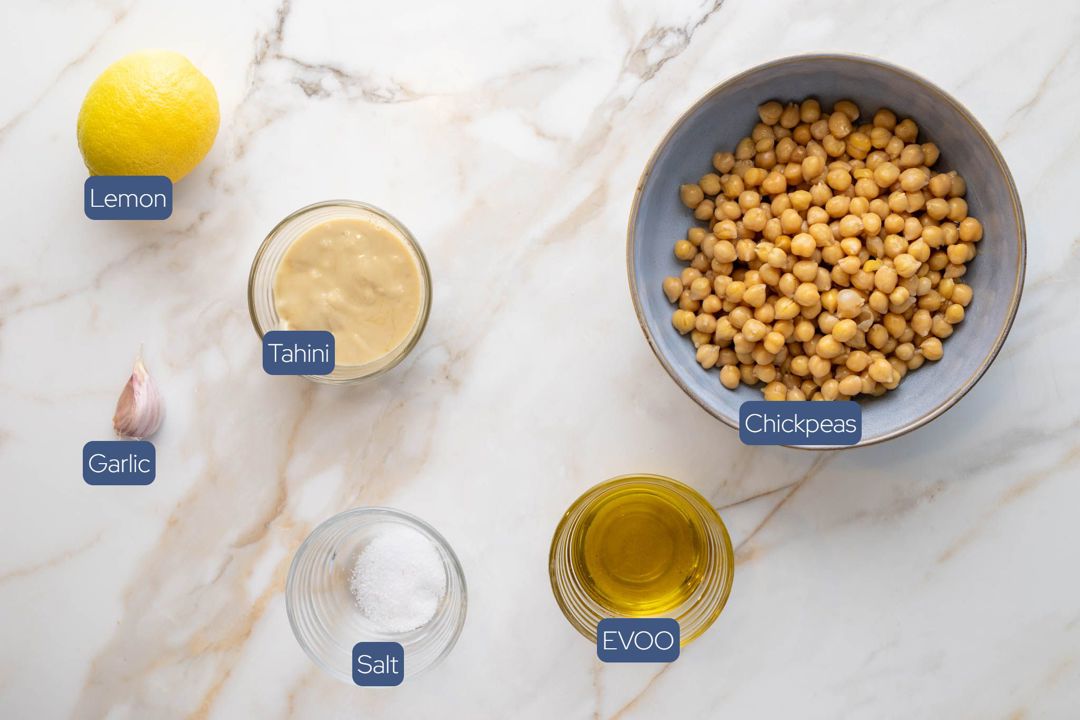
- Chickpeas - canned is fine. Many recipes will try to tell you that you need to cook your own chickpeas, but you don't. The secret for the best result is to use chickpeas that are soft - you might need to try a few canned varieties to find the softest. Make sure you keep the liquid from the chickpea cans - it's called aquafaba and is key to getting the best taste and texture from your hummus.
- Tahini - made from sesame seeds, not all tahini is created equal. You want a tahini that is nutty and not bitter. Make sure you use hulled tahini - unhulled tahini is bitter and more coarse. Tahini will naturally separate in the jar, so stir to combine before adding to the blender.
- Garlic - be careful not to overpower, as raw garlic is very potent!
- Extra virgin olive oil - use your favourite EVOO here!
- Salt, to taste.
- Lemon - juice from a freshly squeezed lemon, or to taste.
Essential equipment you need to make hummus
Hummus needs to be a silky smooth dip, so you'll need a food processor, blender or stick blender to get the best result.
Step-by-step guide to making hummus
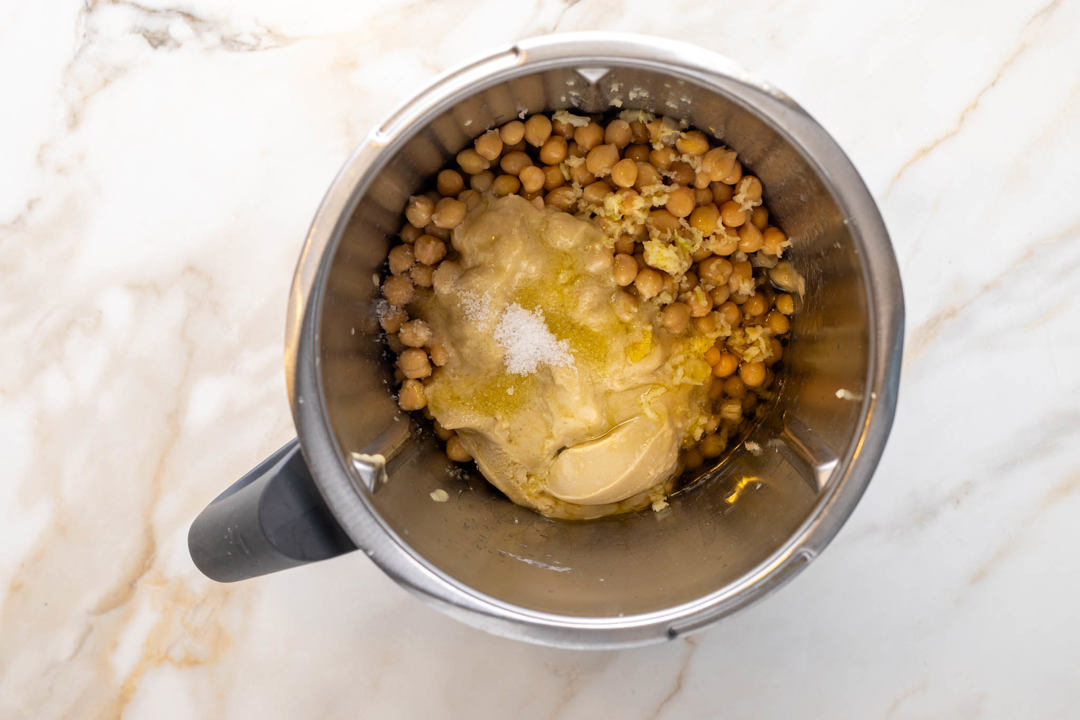
Add all ingredients to a blender or food processor except for the reserved chickpea water.
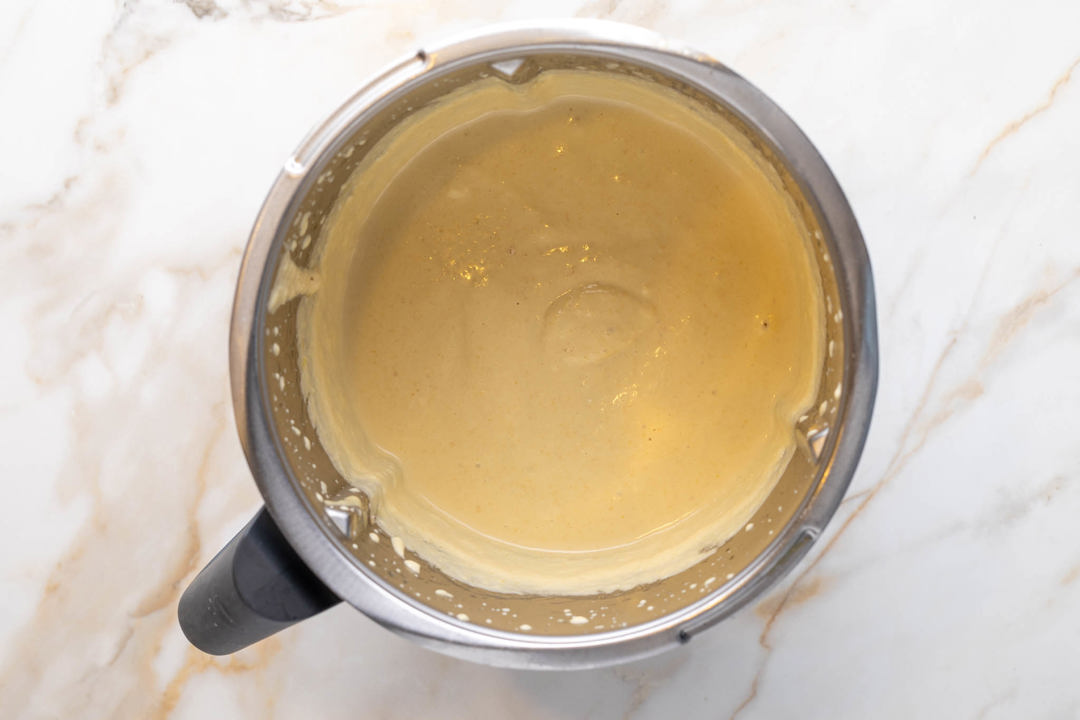
Process - start the processor and slowly drizzle the reserved chickpea water in, until you get a thickness you're happy with.
Continue processing the hummus until uniformly smooth and the desired thickness is achieved. If you want to thin it out further and you're out of reserved chickpea water, slowly add tap water until you achieve the desired consistency.
Taste seasoning and adjust with extra salt or lemon juice if required.
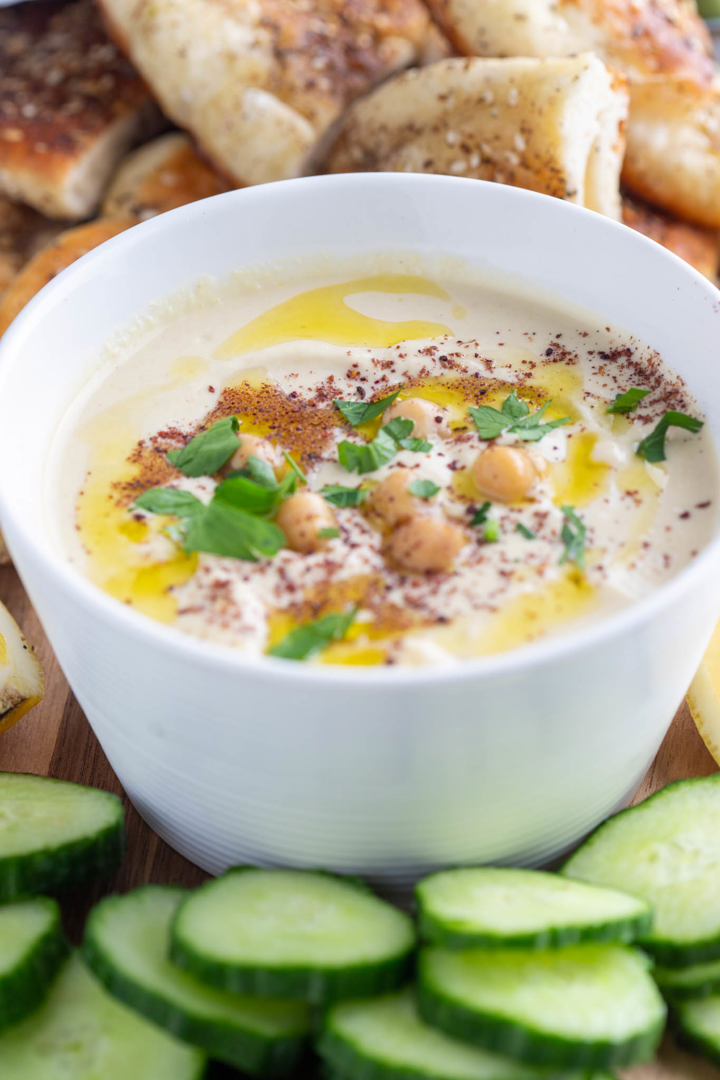
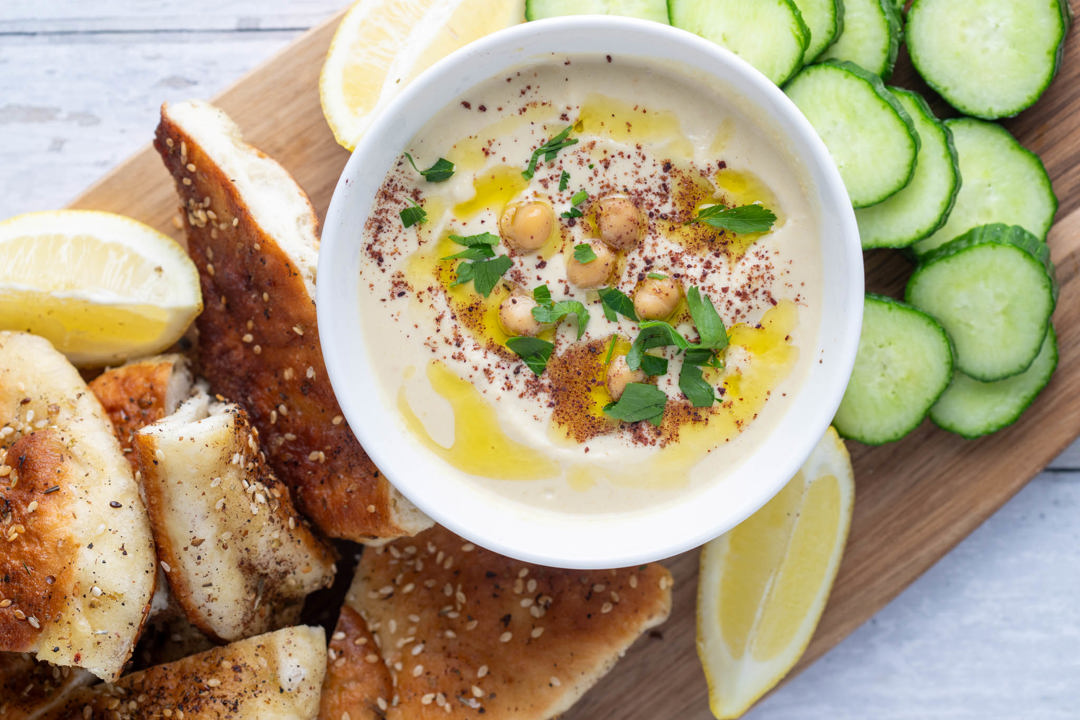
Serve in a bowl, topped with olive oil, the reserved chickpeas and a dusting of sumac.
Tips
- Using canned chickpeas will save time in soaking and cooking the chickpeas. You might need to try a few different brands to find some which are the most tender.
- If you do cook your own chickpeas, make sure you soak them for at least 8 hours before cooking until tender. Adding 1/2 tsp of bicarb/baking soda to the chickpeas while cooking will help them become softer.
- Reserve the liquid from the chickpea cans. This is called aquafaba and using it noticeably improves the texture of the hummus.
- Not all tahini tastes the same - if you're not happy with the taste of your hummus, this might be why. Make sure you use hulled tahini, which has the outer husk of the sesame seed removed, making it less coarse and less bitter.
- Processing the hummus can take up to 5 minutes, depending on the power of your blender.
What to serve with hummus
- As a dip - with pita bread or my Za'atar flatbread, along with vegetables like carrots and cucumber.
- Part of a meze spread - with other dips like tzatziki or baba ganoush, olives, grilled halloumi, falafel and other Middle Eastern finger foods.
- Serve with a simple salad such as tabbouleh with some grilled protein (i.e. chicken) for a simple and healthy dinner.
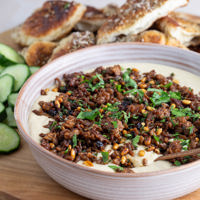
- For an amazing starter, combine with my spicy lamb-topped smoked hummus with my Za'atar flatbread
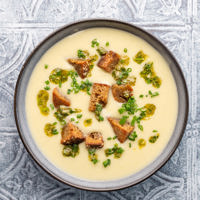
Smoked hummus
Main recipe: Smoked Hummus
The first time I tried smoking the hummus, it blew my mind. It takes hummus to the next level by adding a subtle smokiness. Don't have a smoker? No problem, I have alternatives for you!
My favourite wood for smoking chickpeas is apple as it's mild; some alternatives are peach and cherry. Use whichever wood you prefer, but I suggest avoiding strong woods such as mesquite.
Cold smoker
If you have a cold smoker, you can smoke the cooked chickpeas for 30 minutes to an hour, depending on the wood you're using. Taste the chickpeas occasionally while smoking - you don't want an overpowering smoke on them.
Smoking gun
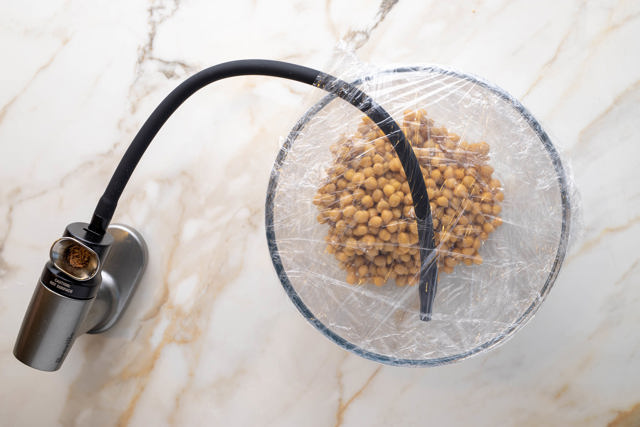
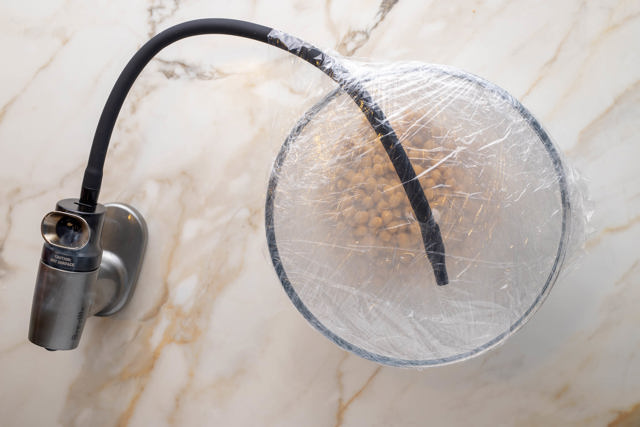
My preferred method for smoking the chickpeas is with a "smoking gun" - Breville and others make a handheld smoker. Simply add the cooked chickpeas to a glass bowl and cover with cling wrap. Insert the smoker nozzle through the plastic (1) and allow the smoke to fill the bowl (2), remove the smoking hose, and add additional cling wrap so that the container is airtight.
Shake the bowl every few minutes to make sure that the smoke is evenly distributed and allow the chickpeas to remain in the smoke for at least 15 minutes. Repeat after this time if you feel they need more smoke.
Liquid smoke
Liquid smoke is a great alternative to using a smoker. It's easily obtainable online (i.e. from Amazon and other stores) - but use it sparingly as it's concentrated! Add a drop at a time while blending/processing the hummus until you get the taste you're after.
Adjusting the thickness of the hummus
If you prefer a thinner hummus, add more chickpea liquid aquafaba, and if you run out, add water. Add it slowly while blending, because you can't make it thicker without adding more chickpeas!
Using dried chickpeas
To make the default recipe yield, you need around 250g of cooked chickpeas. If you're wanting to use dried chickpeas, you'll need around 100g of dried chickpeas, but weigh them after cooking to make sure you are around 250g.
Soak for 8-12 hours and then discard the water.
Place the chickpeas in a pot and cover with water. For the softest chickpeas, add 1/2 tsp of bicarb/baking soda. Simmer for about 45 minutes until very tender - top off water as required to make sure the pot doesn't boil dry.
Make ahead and freezing hummus
Hummus is easily made ahead and will last in the fridge for 4-5 days.
The texture does suffer with freezing, but it's preferable to discarding if you have leftovers. Freeze in an airtight container for up to 3 months and allow to thaw in the fridge. Stir well before serving to make the texture homogenous.
Add your own touch
- Try adding ingredients such as roasted red peppers, cooked or pickled beetroot or sun dried tomatoes before blending. Add a quantity to suit your tastes, but you'll probably end up using around 3/4 of a cup.
- For roast garlic hummus, roast the garlic cloves from a bulb of garlic at 180C for about 45 minutes, until they're tender. Squeeze the garlic into the chickpeas before blending.
- Experiment with adding spices such as cumin, sumac or smoked paprika. You can add these before blending, or scatter on top of the hummus before serving.

Hummus
| Prep | Total |
|---|---|
| 10 mins | 10 mins |
- 400g can of chickpeas, drained reserve the water in the can, known as *aquafaba*, and a few chickpeas for garnish. See notes for instructions on usi
- 1 garlic clove if it's large, only use half
- 4 tbsp hulled tahini mix well before use, see note 3
- 3 tbsp extra virgin olive oil
- Juice of 1 large lemon
- 3/4 tsp salt or to taste
- Sumac, to garnish optional
- Add all ingredients to a blender or food processor except for the reserved chickpea water.
- Process - start the blender and slowly drizzle the reserved chickpea water in, until you get a thickness you're happy with.
- Continue processing the hummus until uniformly smooth and you're happy with the thickness. If you want to thin it out further and you're out of reserved chickpea water, slowly add tap water until you achieve the desired consistency.
- Taste seasoning and adjust with extra salt or lemon juice if required.
- Serve in a bowl, topped with olive oil, the reserved chickpeas and a dusting of sumac.
- Chickpeas - the liquid in the chickpea can is known as aquafaba and is the key for the best hummus. Reserve it when you drain the cans for thinning the hummus out. For the best hummus, you want soft chickpeas, so it can pay to try different brands of canned chickpeas to find the softest ones.
- Using dried chickpeas - you need around 250g of cooked chickpeas, so cook at least 100g of dried chickpeas. Soak for 8-12 hours, discard the water, add to a pot and cover with water. For the softest chickpeas, add 1/2 tsp of bicarb/baking soda. Simmer for about 45 minutes until very tender - top off water as required to make sure the pot doesn't boil dry.
- Tahini - use hulled tahini, and make sure to stir/shake/mix well before use. Tahini will split while sitting - you need to combine before using.
- Smoked hummus - try my smoked hummus recipe if you have a cold smoker, smoking gun or liquid smoke - you won't be disappointed. It builds on this recipe and adds an extra dimension of flavour by smoking the chickpeas.
- Serving - serve with pita bread or my za'atar flatbreads, crackers or firm vegetables such as carrot and cucumber for dipping into the hummus, or as part of a meze spread.
- More substantial meal? Try my lamb hummus starter, served with my za'atar flatbread - it's incredible!