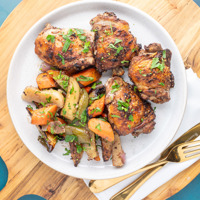
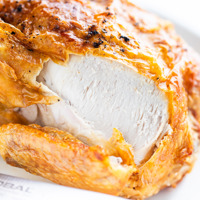
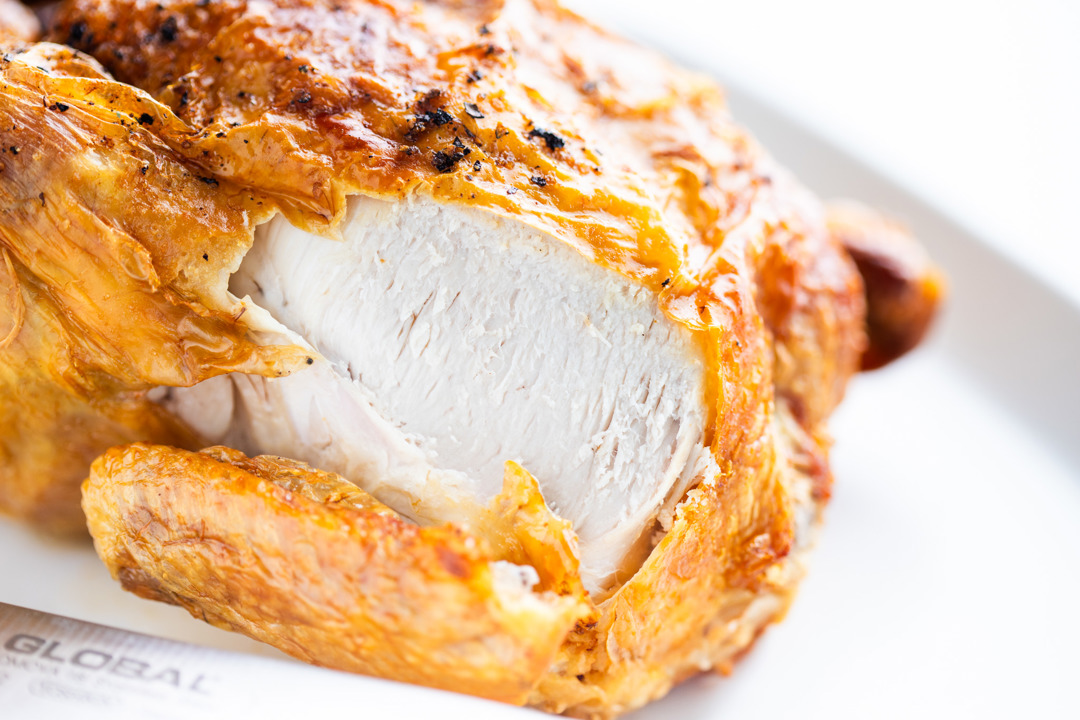
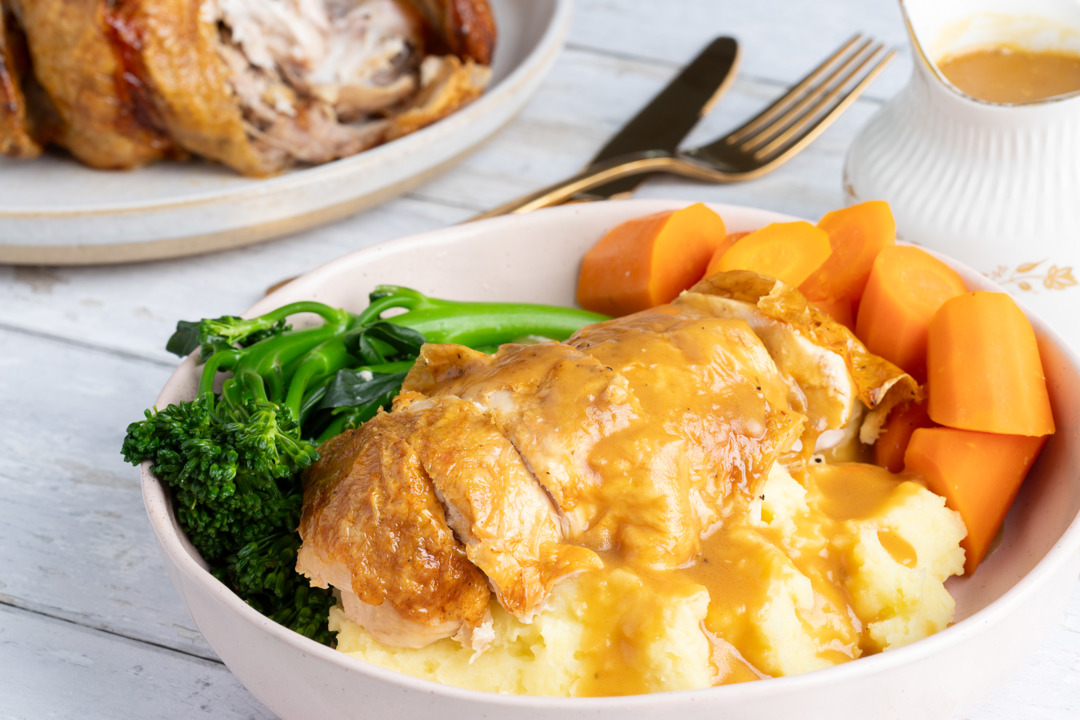
The best roast chicken has crispy golden skin with juicy meat, seasoned to perfection and topped with gravy. It's the simple things, right?

This is a quick & easy roast chicken recipe that will give you the tips and techniques to get that perfectly crispy skin without overcooking your chicken - there's nothing elaborate; focus on perfecting the basics before you start adding things like herb butters and stuffing.
All you need to make this roast chicken is chicken, salt, and pepper. If you're making the gravy, some flour and stock - that's it!
Roast chicken ingredients
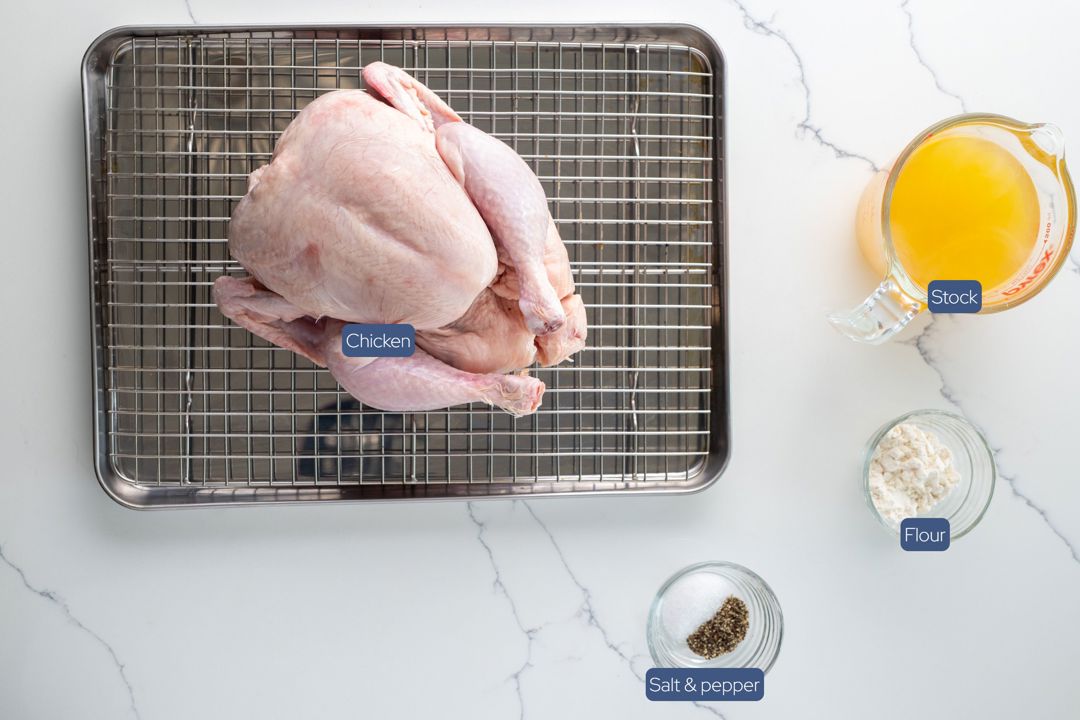
- Whole chicken - aim for around a 2kg bird, which will serve 4-6 people. Buy the best quality chicken you can afford - you'll notice the difference in both taste and texture.
- Olive oil - just a drizzle, to help the salt and pepper stick to the skin.
- Salt and pepper - for seasoning the skin. We're keeping it simple today!
For the gravy:
- Chicken stock - use unsalted or salt reduced stock for the gravy because the salt you put on the skin will season the drippings. Homemade stock will give the best result.
- Flour or cornflour - used to thicken the gravy. I prefer the texture with wheat flour, but cornflour still gives a good result and is gluten free.
How to make the best roast chicken
Preheat oven to 220C/430F.
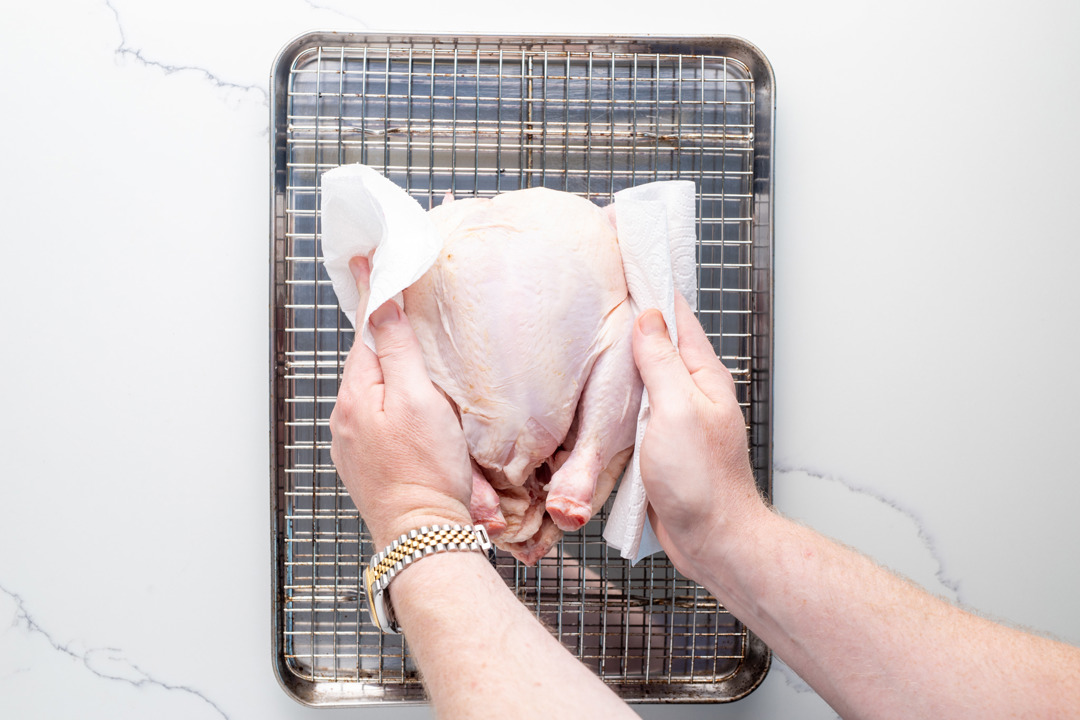
Pat dry - using paper towel, pat dry the chicken skin. This will help you get crispy chicken skin.
Oil - add oil to the skin and rub it around the chicken. This will help the salt and pepper to stick, and to give you a crispy skin.
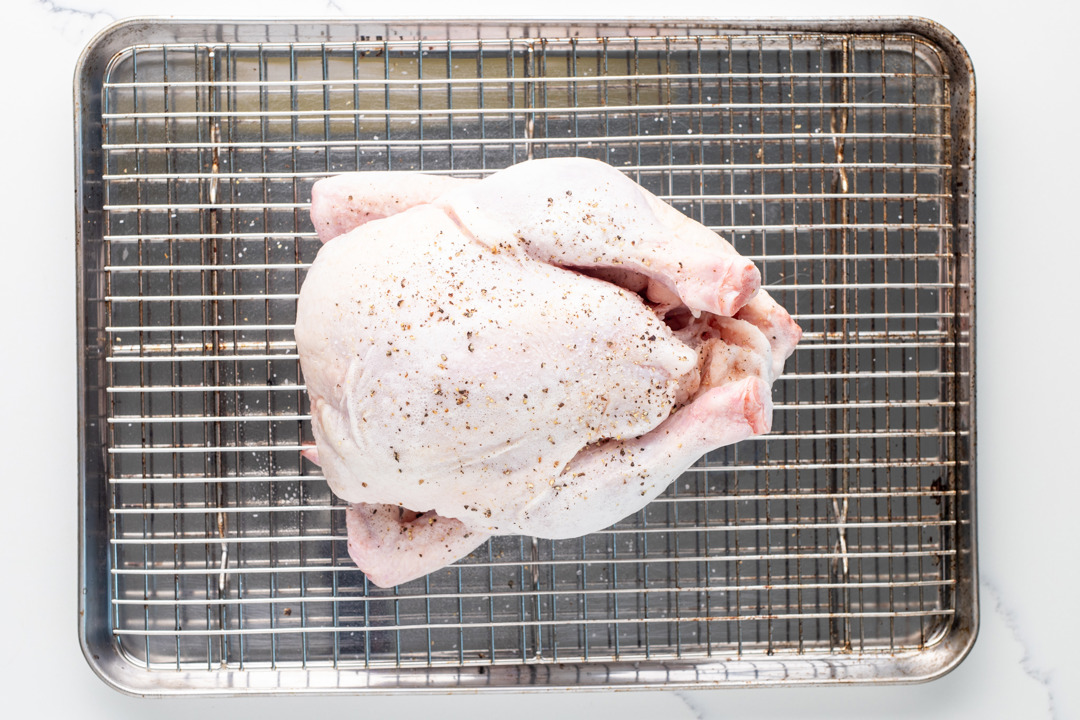
Season - wash your hands after handling the chicken to prevent spreading bacteria and then season with salt and pepper.
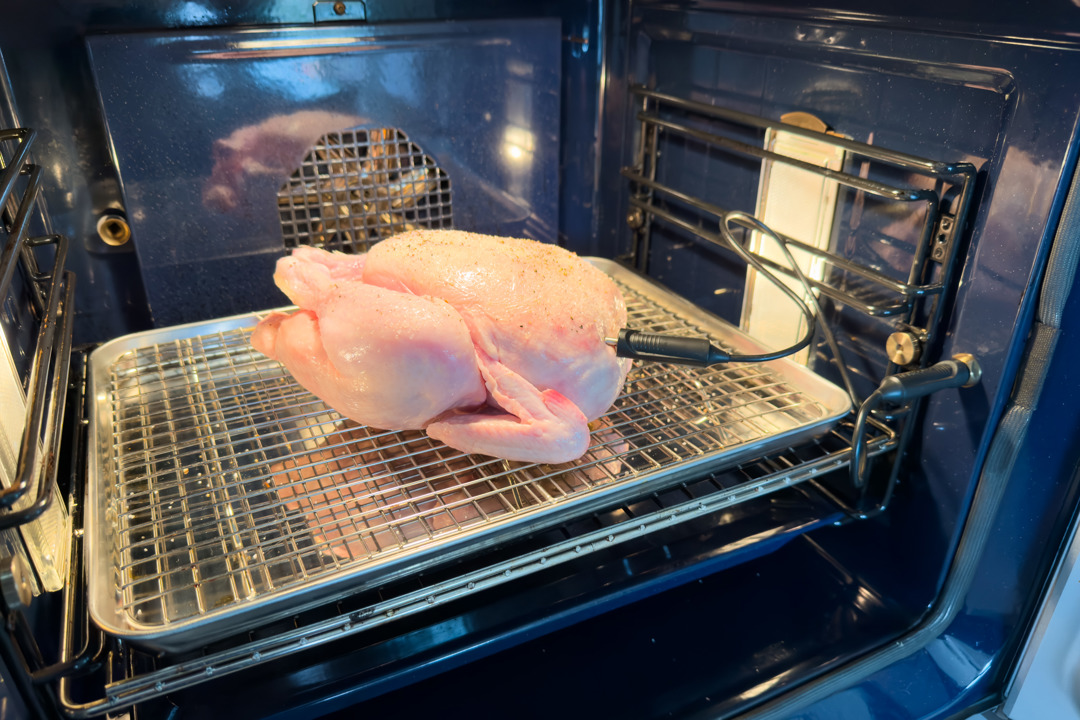
Bake the chicken - ideally using a trivet - for 85-90 minutes (for a 2kg chicken) or until cooked through - the internal temperature should be at least 74C. I have cooking times listed below for other sizes.
Rest the chicken while you make the gravy and finish your vegetables.
Easy homemade gravy for roast chicken
These instructions are for making the gravy with wheat flour. If you prefer to use cornflour/starch, follow the instructions but don't add the corn flour until the stock is added. Mix 2 tbsp of corn flour in 2 tbsp of water to form a slurry and then add to stock while it's boiling. Allow the gravy to reduce to your desired thickness.
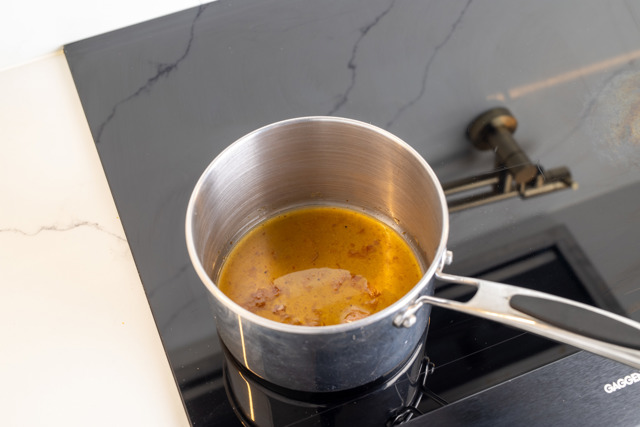
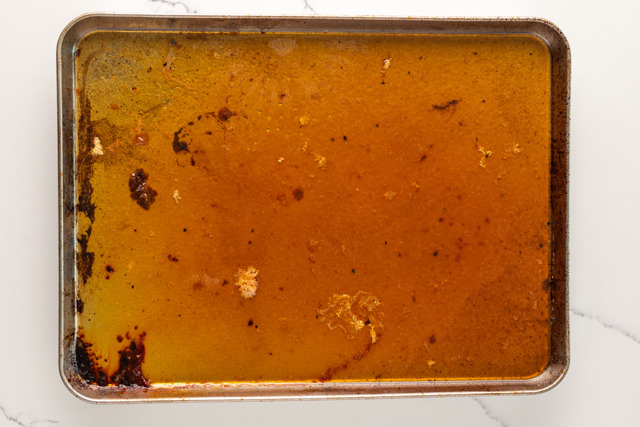
Drain meat juices and deglaze - drain the juices from the baking dish into a pot (1). Boil the kettle and add 1/3 cup of boiling water to the baking dish. Use a wooden spoon or spatula to scrape up the browned bits (fond) from the bottom of the dish. Leave the water in the dish (2).
Heat pot to high heat and bring to the boil. Sprinkle in the flour and whisk continuously until fully incorporated into the fat. If the mixture appears too dry or lumpy, add a small knob of butter and continue whisking. Cook for about 30 seconds to remove the raw flour taste.
Add water from baking dish while whisking. This will start to thicken the gravy. Allow it to return to the boil.
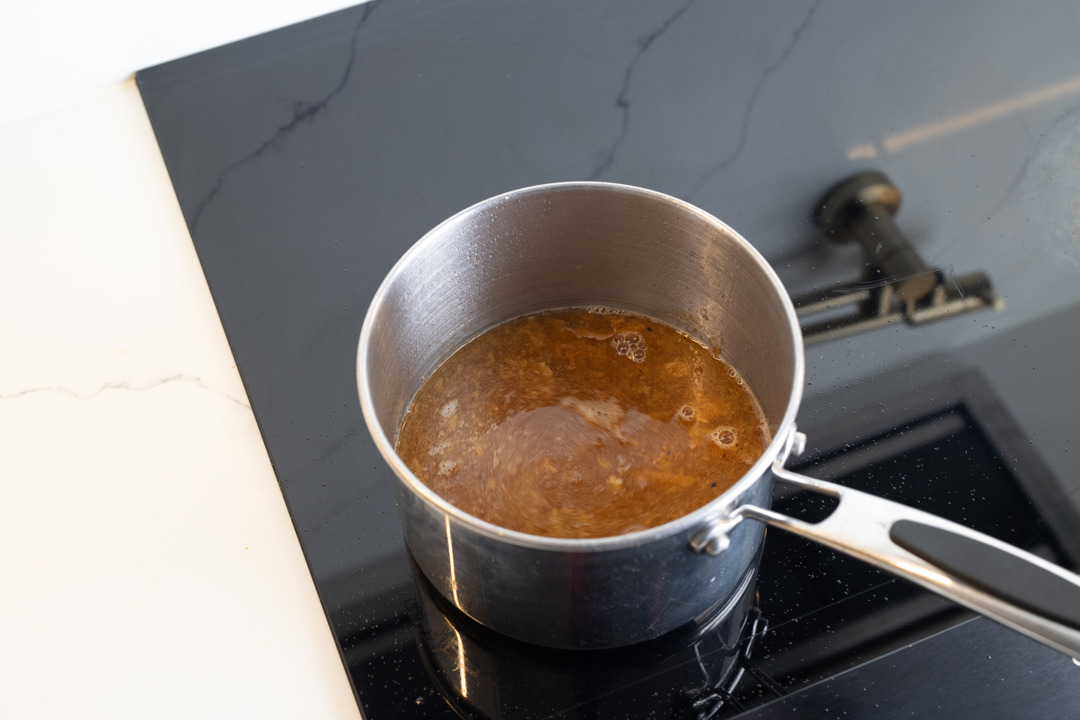
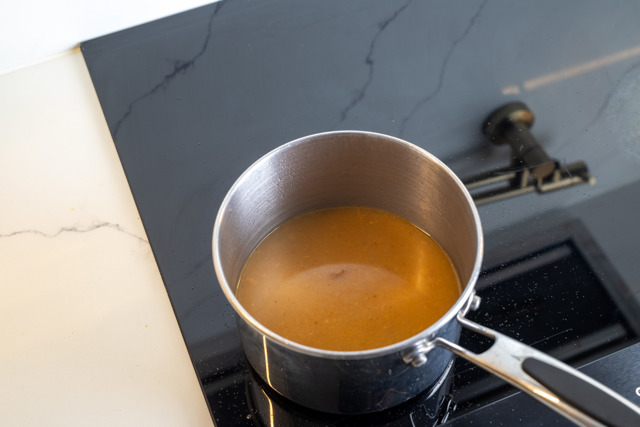
Add stock to the pot, whisking while you incorporate it (1). Once it comes to the boil, reduce heat to a simmer. Stir every minute, making sure to whisk into the rounded corners of the pot to prevent sticking. Simmer until the gravy reaches your desired thickness (2); once ready, reduce heat to low and stir occasionally to prevent a skin from forming.
Season the gravy to taste with salt and pepper. Using white pepper will help keep the gravy clear.


Tips
- Use the best quality chicken you can afford - the better the chicken, the better the taste. At a minimum, try and get RSPCA -- or equivalent animal welfare body -- accredited products.
- Use a thermometer - an instant-read thermometer or probe that can be left in while cooking is your friend here. Aim to pull when the breast hits 72C and the thighs are around 80C. Carry-over cooking while resting will bring the breast to at least 74C.
- Rest your roast - for the best results, rest your roast for 15-20 minutes after it's cooked. This will allow the juice to redistribute while you finish the gravy and vegetables.
- Add the resting juices to the gravy to boost the flavour.
- Use a trivet or mesh to roast the chicken. This will help the skin on the bottom of the chicken to crisp up, and will also improve the flavour of your gravy.
- Adjust the gravy to your desired texture by simmering longer to thicken it or adding more water to thin it. Don't season until you're ready to serve because if you reduce it, it might be too salty.
- Keeping the knife close to the bone while carving will ensure you remove as much meat as possible.
- Use a sharp knife for the best results when carving.
Best side dishes for roast chicken
Here's some ideas for what to serve with your roast chicken. I quite like mashed potato because it soaks up all that gravy!
- Mashed potato. If you're feeling fancy, you could try Irish mashed potatoes - champ, which has scallions/green onions, or colcannon, which has cabbage.
- Baked potatoes - check out my recipe for the best ever baked potatoes.
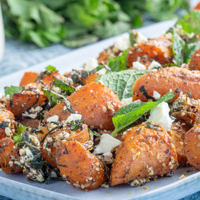
- Carrots - steamed, baked or for something a little different, my Za'atar roasted carrots.
- Rotkohl - a German braised cabbage which pairs well with roasted meats.
- Greens - broccoli, Brussels sprouts, beans, peas, etc.
- Simple salad - leafy salads work well, like a garden salad or manchego, pomegranate and mixed leaf salad .
How to carve a chicken
Before carving your chicken, allow it to rest for about 15-20 minutes after cooking to let the juices redistribute. Place the chicken on a stable chopping board with the breast side up. Make sure you use a sharp knife to minimise the chance of injury and to make the cleanest cuts.
Start by removing the legs - slice through the skin between the thigh and breast, then pull the leg away until the joint pops out. Cut through the joint to separate the leg from the body. Repeat for the other thigh. If you would like, you can further divide each leg by slicing through the joint between the thigh and drumstick.
Remove the wings by cutting through the joint where they connect to the body.
For the breast meat, make a long cut along one side of the breastbone, following the curve of the ribs to gently separate the meat. Repeat for the other breast, and then slice the breast into even pieces if desired.
Removing the wishbone makes it easier to carve the breast meat since the bone gets in the way of the knife. To remove the wishbone, locate it at the front of the chicken, just above the breast. Use your fingers or a small knife to loosen the thin, V-shaped bone from the surrounding meat. Gently pull it out, being careful not to break it. You can remove the wishbone before or after cooking.
Truss or not to truss roast chicken
I opted not to truss the chicken for this recipe as I wanted to keep it simple. Feel free to truss your chicken if you want.
Why should you truss? There are a few benefits:
Even cooking - tying the legs and wings close to the body helps the chicken cook more evenly by preventing them from drying out before the thicker breast and thighs are cooked through.
Better presentation - trussing chicken gives it a more uniform shape, making it look more appealing.
I find that not trussing maximises the skin browning, as when you truss chicken the skin between the thigh and the body doesn't brown.
Roast chicken cooking times
Here are approximate cooking times for common chicken weights, when roasted at 220C/430F:
| Kg | Lbs | Cooking time (minutes) |
|---|---|---|
| 1.4kg | 3 lbs | 55-60 |
| 1.6kg | 3.5 lbs | 65-70 |
| 1.8kg | 4 lbs | 75-80 |
| 2.0kg | 4.5 lbs | 85-90 |
| 2.2kg | 5 lbs | 95-100 |
For food safety, always ensure the internal temperature reaches 74C (165F) at the thickest part of the chicken. Thermometers are widely available and an instant-read thermometer is invaluable in the kitchen.
To check if a chicken is cooked without a thermometer, pierce the thickest part of the thigh or breast with a skewer or knife. If the juice is clear the chicken is likely cooked; if they are pink or red it's not cooked. You can also cut into the thickest part of the meat - fully cooked chicken should have firm, white meat with no traces of pink.
Add your own touch
This is a foundational recipe and there's many things you can do to put your own touch on the roast chicken. Here's some ideas for you:
- Experiment with compound butters under the skin, such as miso butter or garlic and herb butter.
- Use herbs such as rosemary or thyme - either on top of the skin, under the skin, in the cavity or under the chicken. They'll each have a different effect; for example, under the chicken will flavour the gravy.
- Stuff the cavity with half a lemon and half a garlic bulb.
- Make a meat or bread stuffing to cook in the chicken cavity.

Quick and simple roast chicken
| Prep | Cook | Total |
|---|---|---|
| 10 mins | 90 mins | 100 mins |
- 2kg whole chicken best quality you can afford, see note 1
- 1 tsp olive oil
- 1 tsp salt
- Freshly ground black pepper just a few cranks
- 3 tbsp flour GF option - 2 tbsp cornflour
- 500ml (2 cups) chicken stock
- Steamed greens (broccoli, peas, beans, etc)
- Za'atar roast carrots
- Simple garden salad
- Mashed potato
- Baked potatoes
- Rotkohl
- Preheat oven to 220C (430F).
- Pat dry - using paper towel, pat dry the chicken skin. This will help you get crispy chicken skin - moisture will prevent the best result.
- Oil - add oil to the skin and rub it around the chicken. This will help the salt and pepper to stick, and to give you a crispy skin.
- Season - wash your hands after handling the chicken to prevent spreading bacteria and then season with salt and pepper.
- Bake the chicken - ideally using a trivet - for 85-90 minutes (for a 2kg chicken) or until cooked through - the internal temperature should be at least 74C - see notes 5 & 6. See other cooking times below.
- Rest the chicken while you make the gravy and finish your vegetables.
- Carve & serve - carve the chicken and serve with gravy and vegetables of your choice.
Cooking times
| Kg | Lbs | Cooking time (mins) |
|---|---|---|
| 1.4kg | 3 lbs | 55-60 |
| 1.6kg | 3.5 lbs | 65-70 |
| 1.8kg | 4 lbs | 75-80 |
| 2.0kg | 4.5 lbs | 85-90 |
| 2.2kg | 5 lbs | 95-100 |
To make the gravy
These instructions are for making the gravy with wheat flour. If you prefer to use cornflour/starch, follow the instructions but don't add the corn flour until the stock is added. Mix 2 tbsp of corn flour in 2 tbsp of water to form a slurry and then add to stock while it's boiling. Allow the gravy to reduce to your desired thickness.
- Drain meat juices and deglaze - drain the juices from the baking dish into a pot. Boil the kettle and add 1/3 cup of boiling water to the baking dish. Use a wooden spoon or spatula to scrape up the browned bits (fond_ from the bottom of the dish. Leave the water in the dish.
- Heat pot to high heat and bring to the boil. Sprinkle in the flour and whisk continuously until fully incorporated into the fat. If the mixture appears too dry or lumpy, add a small knob of butter and continue whisking. Cook for about 30 seconds to remove the raw flour taste.
- Add water from baking dish while whisking. This will start to thicken the gravy. Allow it to return to the boil.
- Add stock to the pot, whisking while you incorporate it. Once it comes to the boil, reduce heat to a simmer. Stir every minute, making sure to whisk into the rounded corners of the pot to prevent sticking. Simmer until the gravy reaches your desired thickness; once ready, reduce heat to low and stir occasionally to prevent a skin from forming.
- Season the gravy to taste with salt and pepper. Using white pepper will help keep the gravy clear.
- Chicken quality - buy the best quality chicken you can afford. Paying more will give you a better tasting chicken and more importantly support ethical farming practices.
- Vegetables - The post links a variety of serving suggestions - chicken goes well with baked or mashed potatoes, along with either greens or a salad.
- Flour vs corn flour/starch - I prefer wheat flour, but using corn flour/starch is a little easier and friendly for coeliacs or people intolerant of gluten. Use whichever you prefer.
- Cooking times are approximate - always check the doneness (see below).
- Checking doneness - for food safety, always ensure the internal temperature reaches 74C (165F) at the thickest part of the chicken.
- Checking doneness without a thermometer - pierce the thickest part of the thigh or breast with a skewer or knife. If the juice is clear the chicken is likely cooked; if they are pink or red it's not cooked. You can also cut into the thickest part of the meat - fully cooked chicken should have firm, white meat with no traces of pink.
- Carving - the post has instructions on how to carve a chicken if you'd like to know how I do it.
- Trivet - ideally bake the chicken on a trivet or mesh grate. This allows the bottom of the chicken to crisp up